Happy Valentine's Day one day late, y'all! :)
Based on the title of this post, you probably already guessed that a cheesecake recipe will follow...and of course, you are correct. However, I want to preface the recipe with the backstory for why I made it.
As many of you know, I really enjoy baking (way to state the obvious, huh? lol), and I especially love sharing those baked goodies with my family and friends. However, my boyfriend doesn't really care for desserts. I know, I know...crazy, right? But then again, most people think I'm weird for being a vegetarian, so I have no room to judge. Haha. Besides, he still indulges my Sweet Frog obsession despite the fact that he doesn't really care for fro-yo, so he wins brownie points there (except he wouldn't really enjoy eating them after he won them...Sorry, that was a terrible joke, but I couldn't resist :P) Anyway, the one dessert that he does actually enjoy is cheesecake, so I decided several weeks ago that I would bake him a cheesecake for Valentine's Day. In those rare instances (like once a year) when I decide to put forth the time and effort to bake a cheesecake in my tiny kitchenette, I usually like to experiment by making a different flavor each time (i.e. pumpkin, white chocolate, Bailey's, caramel apple, cranberry orange, etc). So, one night earlier this week, the b/f was reading and I was sitting on the couch next to him perusing foodgawker (aka my fave recipe site), just looking for any recipes that particularly jumped out at me as being pin-worthy. He glanced over my shoulder at one point and an appetizing photo of a cheesecake slice apparently caught his eye as he gushed "Mmmm cheesecake." So here was my opportunity to nonchalantly figure out what kind of cheesecake he would prefer. "Haha yup! So what's your favorite kind of cheesecake?" His response: "Just plain cheesecake...." My response: "Oh..." To which he added: "I mean, sometimes I like it with fruit topping, like cherries...or whipped cream." Hmm okay, I decided to keep digging. "Well, have you ever had coffee or Kahlua cheesecake? I thought you'd like that since you love coffee so much." His response: "I'd rather just drink coffee with my cheesecake." Well, so much for my game plan to make a creative cheesecake. Haha. But hey, it was part of his Valentine's gift, so I wanted to make what he would enjoy most...NY Style Cheesecake it is!
Admittedly, when I first taught myself to make cheesecake in college, I was one of those health food nuts who attempted to make everything as low in fat and calories as possible...yes, even desserts. You can probably guess where this is going....the first cheesecake I made contained part fat-free and part neufchâtel cream cheese. Dessert failure right there, folks. LOL. If you've ever attempted to do this, you now also realize that fat-free cream cheese doesn't actually get creamy when beaten, it gets clumpy. So, the end result was a lumpy cheesecake that was...edible at best, but definitely lacked the rich, creamy texture that makes cheesecake so decadent. But hey, some of life's best lessons are learned by trial and error, right? :) Anyway, after that experience, I learned that attempting to make cheesecake less terrible for you totally defeats the purpose...desserts are supposed to be enjoyed in moderation, so when you do, you might as well make them splurge-worthy! :)
Anyway, enough rambling and on to the cheesecake recipe! When I think of "authentic" New York style cheesecake, Junior's and Carnegie Deli are the first names that come to mind. I wasn't actually expecting to find either of those recipes posted online, however, I figured it was worth a quick Google search, and surprisingly, I found this recipe for Junior's Original New York Cheesecake. Whether it's actually the real thing, I can't say, however it turned out pretty delightful, so it's a keeper in my book!
Ingredients:
Crust: (The original recipe calls for Junior's Sponge Cake Crust, however, I changed this up because I'm a fan of graham cracker/vanilla wafer crust).
- 1 cup graham cracker crumbs
- 2/3 cup vanilla wafer crumbs
- 2.5 tbsp butter or margarine, melted
Cheesecake Filling:
- Four (8 oz.) packages cream cheese, softened to room temperature
- 1 2/3 cups sugar
- 1/4 cup cornstarch
- 1 tbsp. vanilla extract
- 2 extra-large eggs (or 1/2 cup egg substitute, which is what I used)
- 3/4 cup heavy whipping cream
Preheat the oven to 350°F. Generously spray the bottom and sides of a 9-inch springform pan with Pam For Baking (or any other cooking spray). Wrap the outside of the pan with aluminum foil, covering the bottom and extending all the way up the sides. Process graham crackers and vanilla wafers in a food processor until ground into fine crumbs.


Pour crumbs into the greased springform pan. Pour in melted butter, blend, then pat the crumb/butter mixture on the bottom of the pan to form the crust. Bake in the preheated oven for 10 minutes. Remove to cool.

Combine one package cream cheese, 1/3 cup sugar, and the cornstarch in a large bowl and beat with an electric mixer on low until creamy, about 3 minutes, scraping down the bowl several times. Blend in the remaining cream cheese, one package at a time, scraping down the bowl after each one.


Increase the mixer speed to medium and beat in the remaining 1 1/3 cups sugar, then the vanilla. Blend in the eggs, one at a time, beating well after adding each one. Beat in the cream just until completely blended and smooth. Be careful not to overmix!

Gently spoon the batter over the crust.
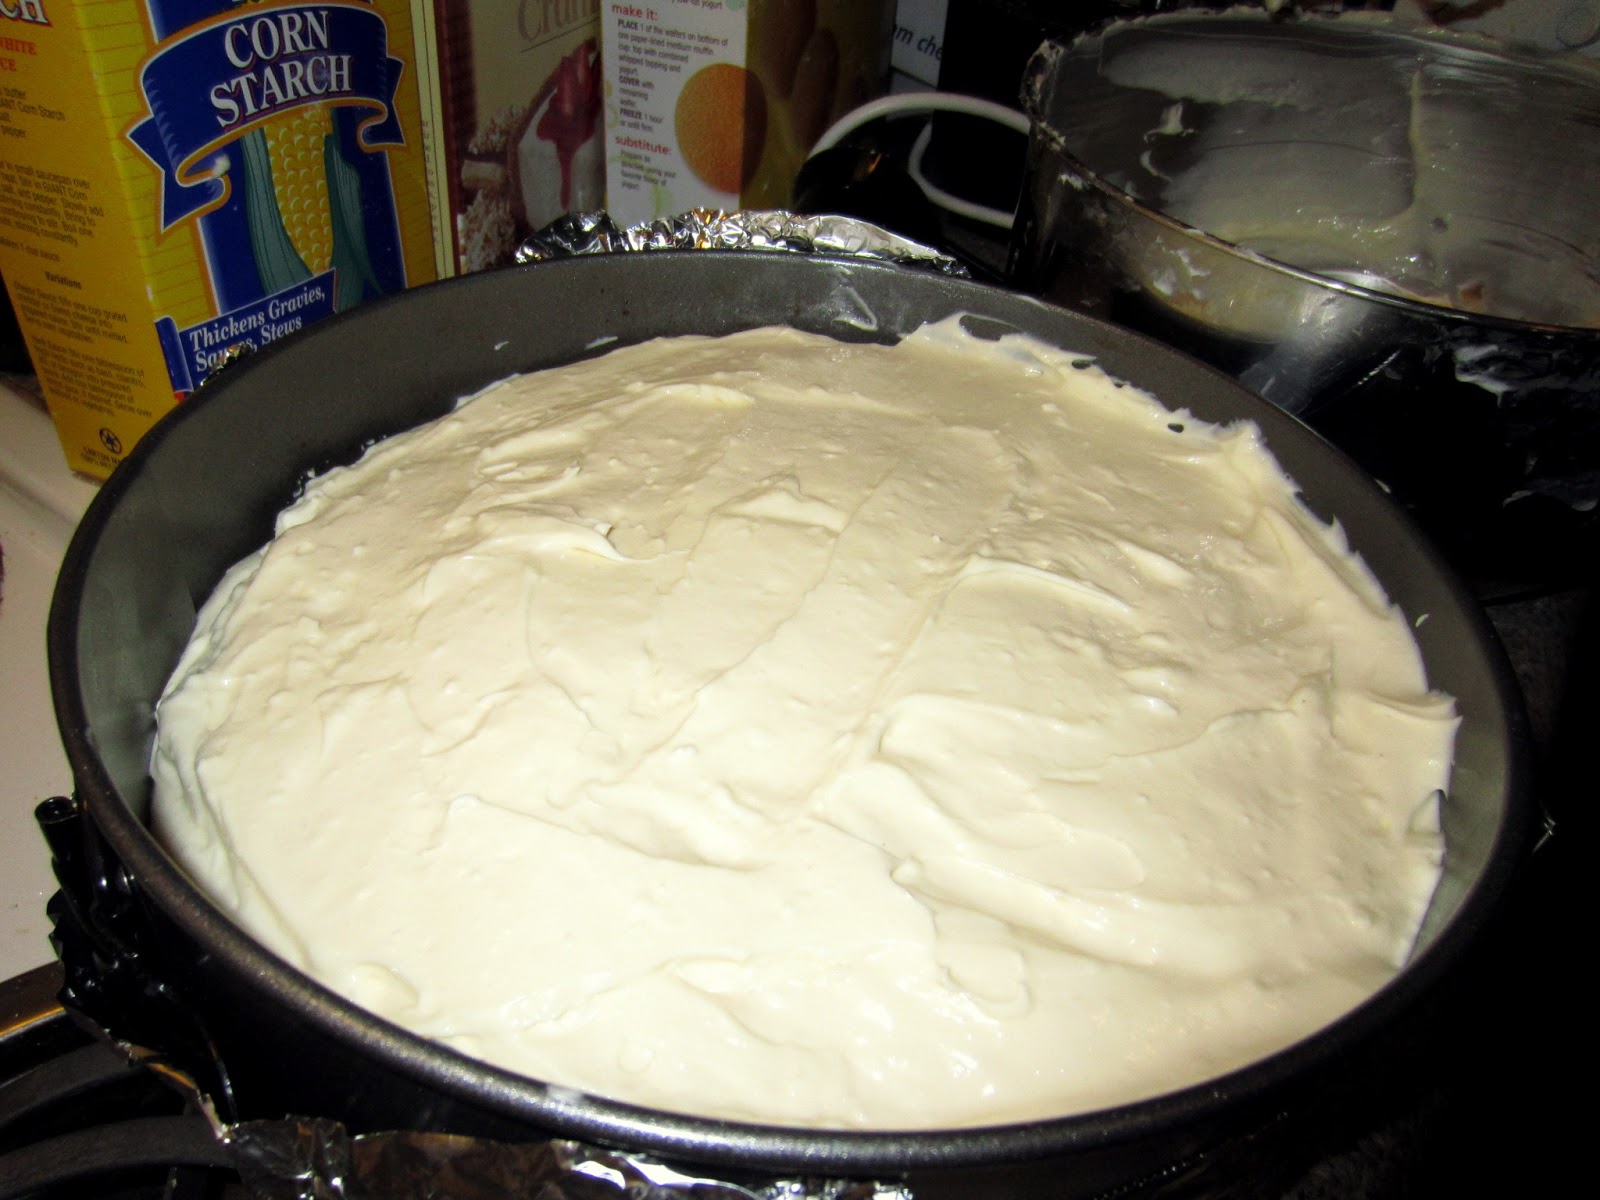
Place the cake in a large shallow pan containing hot water that comes about 1 inch up the sides of the springform.

Bake until the edges are light golden brown and the top is slightly golden tan, about 1 1/4 hours. Remove the cheesecake from the water bath, transfer to a wire rack, and let cool for 2 hours (just walk away - don't move it). Then, leave the cake in the pan, cover loosely with plastic wrap, and refrigerate until completely cold, preferably overnight or for at least 4 hours.
To serve, release and remove the sides of the springform, leaving the cake on the bottom of the pan. Place on a cake plate and top with fruit topping or whipped cream, if desired.

Refrigerate overnight or until ready to serve (at least 4 hours). Slice the chilled cheesecake with a sharp straight-edge knife.
After a lovely Valentine's Day dinner at Amici Ristorante (more on that in my next post ;), we came back to my apartment and each enjoyed a slice of this cheesecake with coffee. I should note that I sent the leftover 8/10 of the cheesecake home with him...didn't need that kind of temptation in my fridge! Haha.
Hope you all have a fabulous weekend! :)
No comments:
Post a Comment